
Design Ideas
Bathroom Renovation Ideas That Still Look Right in Ten Years
By Remodler · · 15 min read
This is a working list of bathroom renovation ideas drawn from the jobs we've delivered across the Hills District and Western Sydney - Bathroom Renovations Castle Hill, Kellyville, Blacktown, Quakers Hill, Marsden Park, Penrith, Box Hill and Minto. We provide Bathroom Renovations services across Sydney, from the inner suburbs through to the Hills District and Western Sydney regions. It's built from what holds up, what dates fast, and what quietly costs more than people expect.
We build bathrooms every week. That means we see the five-year-old versions of trends that looked brilliant on a moodboard, and we know which decisions people regret. This guide runs through layout and zoning, small-space tricks, tiles, tapware, storage, lighting, ventilation, accessibility, waterproofing, trends to avoid, and how all of that maps onto the housing stock we actually work in — 1970s brick veneer, 1990s double-brick, and 2010s-onward estate builds.
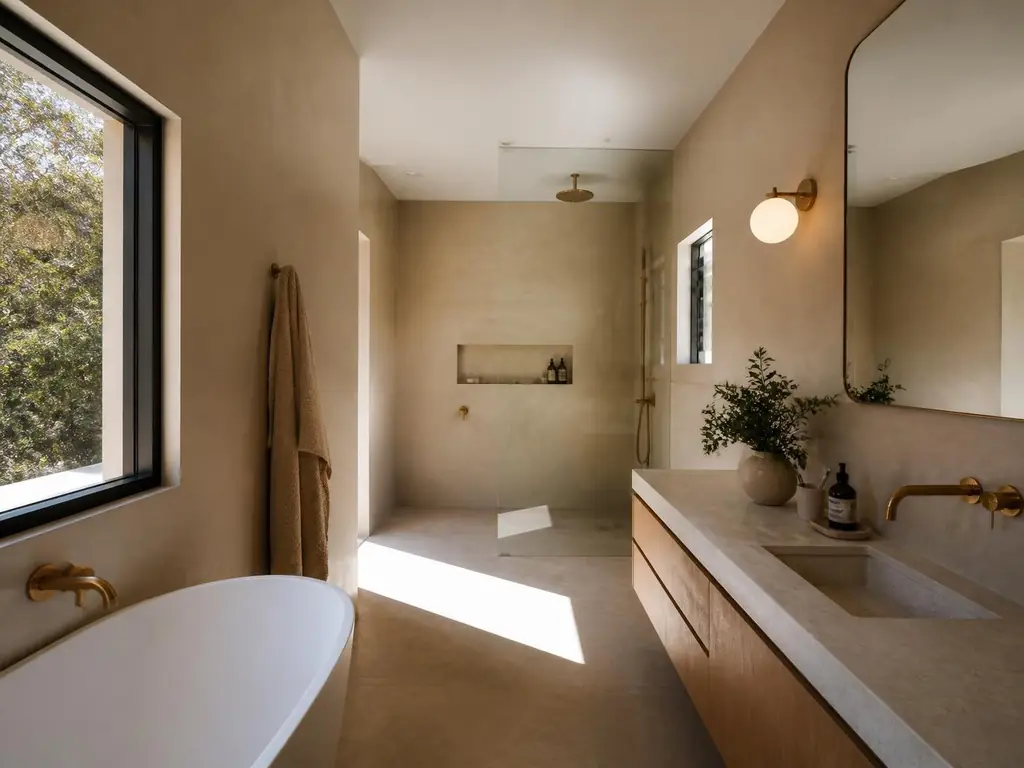
Start with the layout and zoning, not the tiles
Almost everyone starts a bathroom renovation by collecting tile images. It's the wrong order. Tiles are a finish; the layout is what determines whether the room works every morning for decades to come.
Before you choose a single material, map the three functional zones — wet (shower and bath), wash (vanity and mirror), and WC. A good layout keeps the WC out of the sightline from the door, puts the vanity where natural light hits it, and gives the shower the largest continuous run of wall available. Under the NCC and AS 3740, the shower zone also dictates where waterproofing has to extend up the wall (minimum 1800mm in the shower area, 150mm elsewhere) and how the floor waste is set out, so zoning isn't just aesthetic — it's the basis of your wet-area compliance.
The most valuable layout change in an older Sydney home is removing the wall between a separate toilet and the bathroom. In a 1970s or 80s brick veneer home, that single move typically converts two cramped, useless rooms into one properly proportioned bathroom without touching the external walls or the roof line.
- Keep the door swing clear of the vanity — or switch to a cavity slider and reclaim a full square metre.
- Put the shower on the wall furthest from the door so the glass doesn't fog the entry and water doesn't track out.
- Allow 900mm of clear circulation in front of the vanity; anything under 750mm feels tight to two people.
- If you're keeping a bath, a 1500–1700mm inset bath against a wall almost always beats a freestanding tub in a room under 8m².
- Locate the linear floor waste on the wall furthest from the door so the fall runs away from the entry, not toward it.
How ideas map to real Sydney housing stock
The right approach to your bathroom renovation depends heavily on what you're starting with. In the Hills District and Western Sydney, homes span three broad building eras, each with its own set of constraints and opportunities. For homeowners considering Bathroom Renovations Hills District, understanding the age and structure of your home can help guide the right approach.
1970s–80s brick veneer homes (common through Baulkham Hills, Winston Hills, parts of Blacktown) typically have a separate toilet, a timber joist floor and a bathroom under 6m². The timber floor means we can usually reroute waste and supply pipework without breaking concrete, which opens up wall removal and full reconfiguration relatively cheaply. 1990s–2000s double-brick and slab-on-ground homes (Kellyville, Castle Hill, Quakers Hill) usually already have a combined bathroom and ensuite but with dated 90s fittings — corner spa baths, framed mirrors, beige tile. These respond well to a full strip-and-rebuild without moving walls. Newer estate homes (Marsden Park, Box Hill, The Ponds, built post-2015) often have reasonable layouts already, so the ideas that add the most value are finish-level: tile upgrade, tapware, lighting, and storage, without structural change.
| Housing era | Common bathroom trait | Best-fit ideas | Typical structural constraint |
|---|---|---|---|
| 1970s–80s brick veneer | Separate WC, timber floor, under 6m² | Wall removal, full reconfiguration, wall-hung fixtures | Timber joists mean easy re-plumbing, but check for asbestos sheeting |
| 1990s–2000s double brick / slab | Combined ensuite, corner spa bath, framed mirror | Full strip-out, hobless shower, new waterproofing membrane | Slab-on-ground limits waste relocation without a saw-cut and drop |
| Post-2015 estate build | Reasonable layout, builder-grade finishes | Tile, tapware, lighting and storage upgrade; keep the shell | Plasterboard wet-area lining may need upgrading to compliant villaboard |
Swipe the table to see all columns.
Ideas that make a small bathroom feel bigger
Most Sydney bathrooms are between 4m² and 8m². You can't add floor area without moving walls, but you can change how much of it you see.
The single most effective trick is visible floor. Every square metre of uninterrupted floor the eye can travel across reads as space. That's why a wall-hung vanity and a wall-hung toilet pan make a small room feel dramatically larger than the same room with floor-mounted versions — you're seeing the tile run right to the wall.
- Wall-hung vanity: shows 400–500mm more floor and makes cleaning trivial.
- Hobless, level-entry shower: removes the visual barrier that chops the room in half.
- Frameless or single-panel glass instead of a framed screen with a door.
- Run the same floor tile into the shower with no threshold change.
- One large-format tile (600x600 or 600x1200mm) rather than mosaics — fewer grout lines, calmer surface.
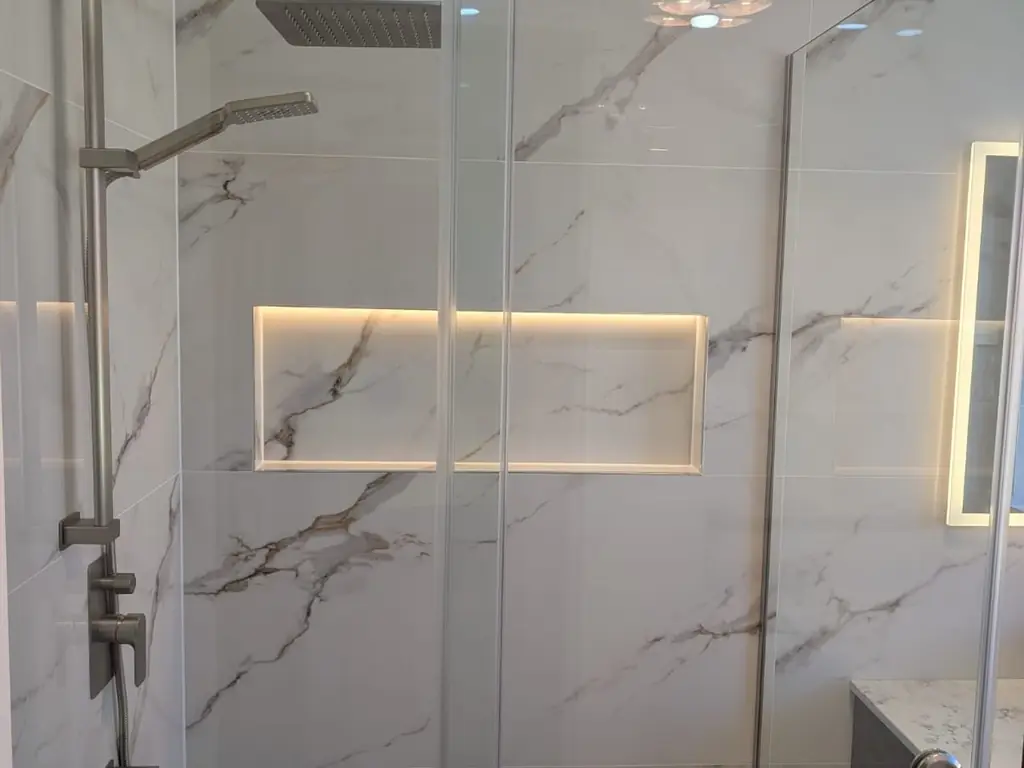
- A recessed niche instead of a caddy or shelf, ideally aligned to a tile joint.
- Typical Sydney bathroom floor area
- 4-8m²Typical Sydney bathroom floor area
- Extra visible floor from a wall-hung vanity
- 400-500mmExtra visible floor from a wall-hung vanity
- Minimum screed fall to shower waste
- 1:80Minimum screed fall to shower waste
Tile ideas that don't date
Tile is where most of the visible budget goes and where most regret lives. Our rule with clients: let the floor and main walls be quiet, and spend the personality budget on one controlled feature.
Large-format porcelain in a warm off-white, bone or soft greige has been the reliable base for a decade and shows no sign of shifting. Where people want texture, a vertical-stack or herringbone feature behind the vanity or in the shower niche delivers it without committing the whole room.
The finish matters more than the pattern. Matt and honed surfaces hide water spotting and soap film far better than gloss, and a P3 or P4 slip rating (equivalent to an R10 wet-pull rating under AS 4586) on the floor is a legal and practical requirement, not an upsell. Wet areas with a shower step or ramp typically need R11.
| Tile type | Typical cost (supply, per m²) | Slip rating available | Maintenance |
|---|---|---|---|
| Large-format porcelain (600x600-600x1200mm) | $45-120 | P3-P4 / R10-R11 | Low — dense, low porosity, easy to clean |
| Natural stone (marble, travertine) | $90-220 | Varies, needs sealing | High — requires periodic sealing, etches with acid |
| Small-format mosaic / feature tile | $60-180 | P3-P5 depending on finish | Medium-high — more grout lines to maintain |
| Microcement seamless finish | $150-260 (installed, per m²) | Can be formulated for slip resistance | Medium — repairable but needs specialist |
Swipe the table to see all columns.
Microcement and seamless finishes
Seamless microcement walls look extraordinary and photograph beautifully. They also require a highly skilled applicator, cost roughly double a tiled equivalent, and are less forgiving to repair. We'll build them, but we make sure clients understand the maintenance trade-off first.
Grout is a design decision
A tone-matched grout makes a wall read as a surface; a contrast grout makes it read as a pattern. Epoxy grout in the shower costs more up front (roughly $15-25/m² extra in labour and material) and saves you scrubbing mould out of a porous cementitious joint for the next decade.
Tile size and layout set-out
Large-format tile (600x1200mm and up) needs a flatter substrate than a small tile will forgive — we screed to within 3mm over a 2m straightedge before laying anything over 600mm. Get the set-out plotted before tiling starts so cut tiles land in corners and behind doors, not as a full width strip beside the vanity.
Tapware, and why finish selection is a ten-year decision
Brushed brass and warm gold have dominated Australian bathrooms for several years now. They still look good, but if you want a genuinely neutral choice, brushed nickel and matt black have proven more resistant to changing taste.
Whichever finish you pick, buy the whole room in one range from one brand. Mixed 'brushed gold' from three suppliers will not match — the undertones differ, and it's obvious in daylight.
Practical note for Hills and Hawkesbury properties on tank water or older mains: check your delivered water pressure before specifying tapware. A high-flow rain head needs at least 200kPa to perform properly; on a 150kPa system it's a disappointing shower, and no amount of design fixes it. We test static pressure on-site before finalising the tapware schedule.
Storage ideas people forget until it's too late
Storage is the most common complaint about a finished bathroom, and it's almost always something that could have been designed in for very little money.
- A shaving cabinet recessed into the wall cavity gives depth without projecting into the room — needs a minimum 90mm stud cavity or a furred-out wall.
- Drawers, not doors, in the vanity — you can see and reach everything.
- A double niche in the shower: one at soap height, one lower for a razor and kids' bottles.
- A tall 300mm cabinet at the end of the vanity run absorbs towels and cleaning products.
- A power point inside the vanity drawer for toothbrushes and shavers keeps the benchtop clear (must be on an RCD-protected circuit).
Lighting: the cheapest upgrade with the biggest effect
A single ceiling downlight in the middle of the room is why most bathrooms look worse in person than in the brochure. It puts your face in shadow at the mirror and flattens every texture you paid for.
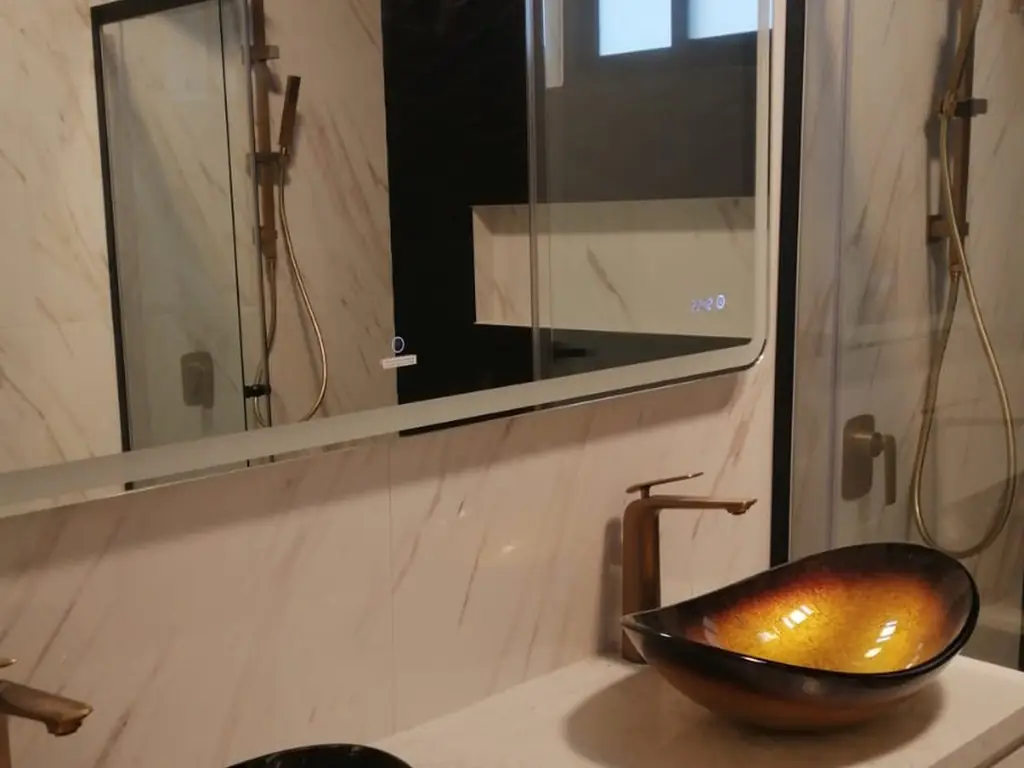
Build the lighting in three layers: general ceiling light, task light at the mirror (either a backlit mirror or wall sconces either side at eye height), and a low-level or shower-zone light for night use. Put the layers on separate switches.
Use a warm colour temperature — 3000K to 3500K. 5000K 'daylight' globes make even beautiful stone look clinical.
Electrical zones and IP ratings
AS/NZS 3000 splits the bathroom into zones: Zone 0 (inside the bath or shower tray) needs IP67-rated fittings on extra-low voltage; Zone 1 (up to 2.25m above the tray) needs at least IP65; Zone 2 (600mm beyond the shower/bath) needs IP44 minimum. Downlights over a shower must be IP65-rated with sealed drivers — this is one of the most common defects we find in unlicensed bathroom work.
Ventilation: the idea nobody photographs but every mould problem traces back to
A bathroom fan sized for the room next door will not clear a steamy shower. Australian Standard AS 1668.2 and the NCC set minimum exhaust rates; for a typical 5-8m² Sydney bathroom you want an exhaust fan rated at 250-300 L/s (litres per second) of free air, ducted to outside air, not into the roof cavity.
Duct run length and bends matter more than the fan's rated capacity. Every 90-degree bend in flexible ducting effectively costs you 1-1.5 metres of straight run in performance. A fan rated at 250 L/s on a straight 2m duct can perform like a 150 L/s fan after three bends and a 6m run — this is the single biggest reason new bathroom fans underperform.
If there's a window, use it as backup ventilation, but don't rely on it as your primary exhaust — condensation happens fastest at night when windows are shut.
- Recommended exhaust rate for a Sydney bathroom
- 250-300 L/sRecommended exhaust rate for a Sydney bathroom
- Effective duct length penalty per 90° bend
- 1-1.5mEffective duct length penalty per 90° bend
- Governing ventilation standard
- AS 1668.2Governing ventilation standard
Waterproofing: the part you never see and the part that matters most
Every idea on this page is downstream of the waterproofing membrane. AS 3740-2021 sets the minimum standard: a fully bonded membrane over the shower floor and walls to a minimum of 1800mm, 150mm upturns at all other wet-area walls, and 100mm minimum up the door architrave.
Screed falls are just as critical as the membrane itself. The bathroom floor needs to fall at a minimum ratio of 1:80 toward the floor waste or linear drain, with no ponding areas — we check this with a level and a hose before any tile goes down. A linear waste set into the shower wall, rather than a centre-floor drain, lets us run a true single-direction fall and keeps the visual line of the floor cleaner, which ties directly back into the small-space ideas above.
Get a waterproofing certificate from a licensed applicator on every wet-area job. It's required for home warranty insurance (HBCF) on renovations over $20,000 in NSW, and it's the document that protects you if a leak shows up in the ceiling below in three years' time.
| Location | Minimum membrane height / detail |
|---|---|
| Shower walls | 1800mm above finished floor level, full wet area |
| Non-shower wet-area walls | 150mm above finished floor level |
| Door architrave / threshold | 100mm minimum upturn |
| Floor falls to waste | 1:80 minimum, no reverse falls or ponding |
| Timber floor substrates | Compliant flexible membrane system over villaboard or particleboard rated for wet areas |
Swipe the table to see all columns.
Accessibility and ageing-in-place ideas worth building in now
A growing number of our Hills District clients are renovating with the long term in mind, not just the next few years. Building in accessibility now, while walls are open, is dramatically cheaper than retrofitting later.
AS 1428.1 sets out the dimensions for accessible design, and while most residential renovations aren't required to meet full compliance, borrowing the principles pays off. A hobless shower with a 1200mm minimum clear entry width, a fold-down or fixed shower seat, and grab-rail-rated wall blocking (structural noggins behind the sheeting, not just plasterboard anchors) cost very little extra if they're specified before the walls close up.
- Blocking for grab rails at 800-900mm height near the shower and toilet, even if the rail isn't installed yet.
- A hobless shower entry at least 1200mm wide for future wheelchair or walking-frame access.
- Lever-handle tapware instead of twist mixers — easier on hands with arthritis, and easier for anyone with wet, soapy hands.
- A raised-height WC pan (comfort height, ~450-460mm) rather than a standard 380-400mm pan.
- Slip-resistant floor tile rated R10 minimum throughout, not just in the shower.
Trends we tend to talk clients out of
We're not in the business of refusing work, but part of the job is telling you what we've seen fail.
- Fully dark rooms in a bathroom with no window — beautiful in photos, oppressive at 6am.
- Open shelving above a toilet — it collects dust and aerosol residue, and nothing ever looks styled.
- Freestanding baths crammed into rooms under 8m² — you lose the shower size that you actually use daily.
- Timber-look vinyl in a wet area, no matter what the retailer claims.
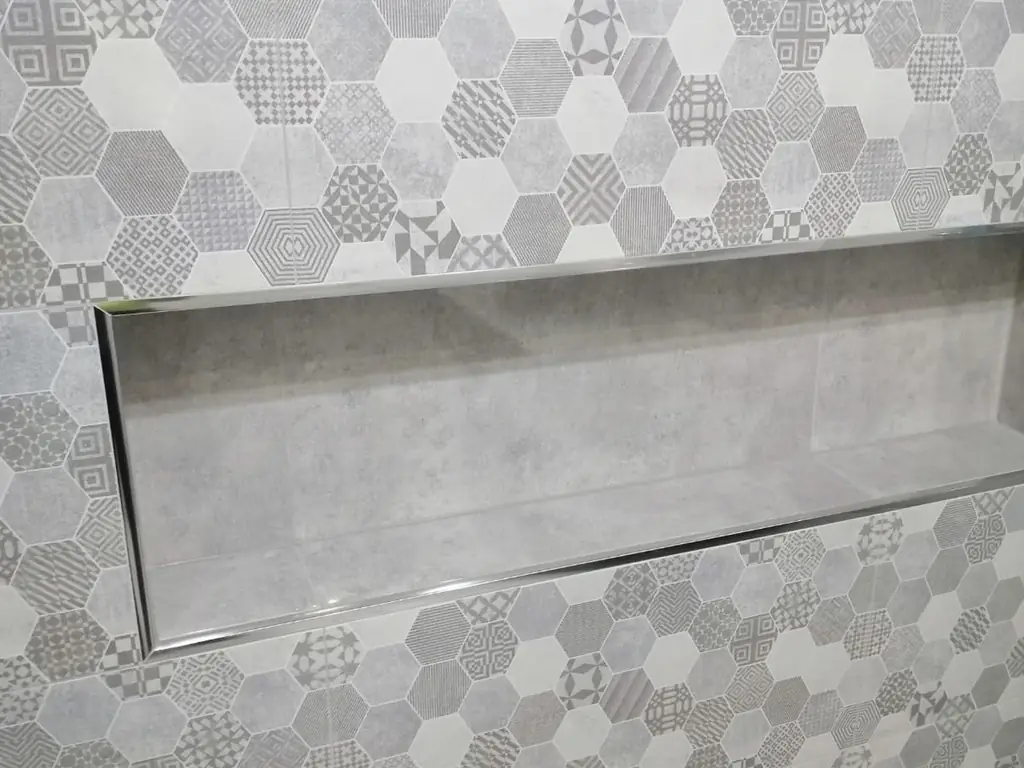
- Feature tiles across all four walls; the room stops having a focal point at all.
- Undersized or unducted exhaust fans installed just to tick a compliance box.
Budget tiers: what ideas are realistic at each price point
It's more useful to think in tiers than in a single average cost, because the ideas available to you genuinely change at each level. These are typical Sydney ranges for a standard 4-8m² bathroom, supply and install, in a single-storey home with reasonable access.
| Tier | Typical cost range (AUD) | What you get | Typical duration |
|---|---|---|---|
| Cosmetic refresh | $12,000-$20,000 | Re-tile within existing layout, new vanity, toilet, tapware; no wall moves | 2-3 weeks |
| Mid-range full renovation | $22,000-$35,000 | Full strip-out, new waterproofing, layout tweaks, wall-hung fixtures, feature tile | 3-4 weeks |
| Structural / layout change | $35,000-$55,000+ | Wall removal, relocated plumbing, combined WC/bathroom, underfloor heating option | 5-7 weeks |
Swipe the table to see all columns.
How to turn ideas into a buildable plan
The gap between a Pinterest board and a working bathroom is a measured plan, a fixture schedule and a clear, detailed written contract. When we quote, we produce all three — a scaled layout, a line-by-line list of every fixture, tile and fitting with its supplier code, and an itemised quote against it.
That's the document that protects you. If a builder can't tell you exactly which mixer, which base, which membrane and which tile is in the number they've quoted, they haven't priced your bathroom — they've guessed at one. NSW Fair Trading requires a written contract with a fixed scope for any residential building work over $5,000, and Home Building Compensation Fund (HBCF) cover is mandatory once the contract value passes $20,000 — check both are in place before signing anything.