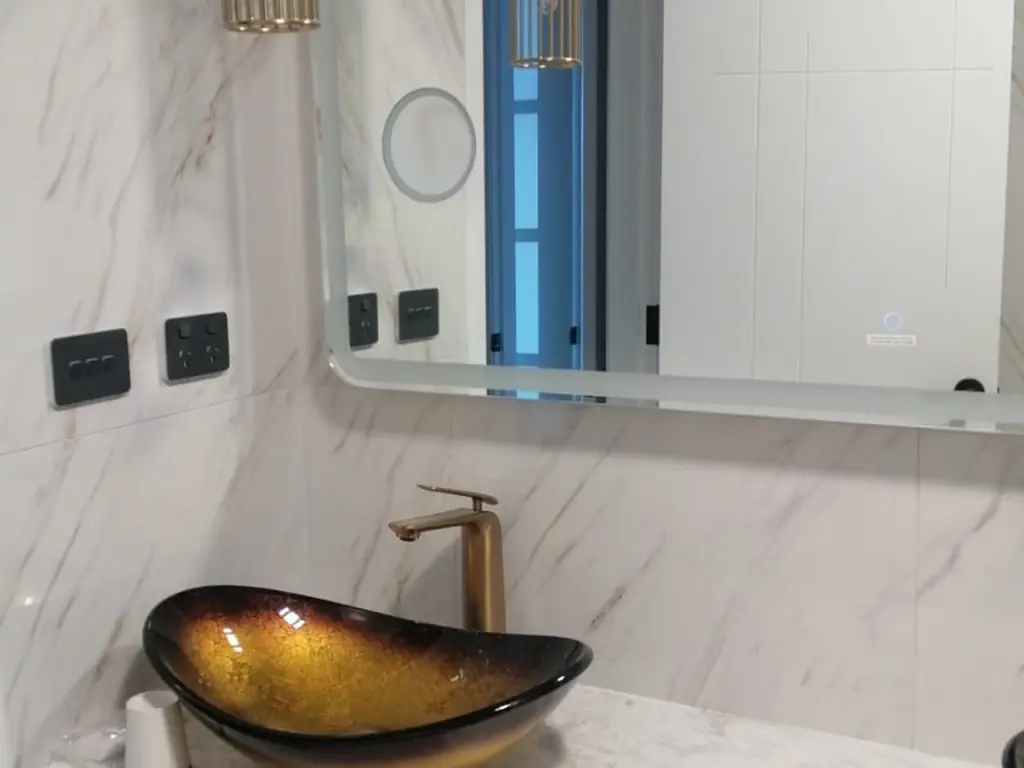
Planning & Process
DIY Bathroom Renovations in Sydney: What You Can and Can't Legally Do
By Remodler · · 13 min read
Plenty of Sydney homeowners do part of their own bathroom renovation, and some of it is completely legitimate money saved for genuinely low risk. The problem is that the highest-risk trades in a bathroom — the ones that fail quietly, behind a wall, eighteen months after you've forgotten about them — are exactly the ones people assume they can handle with a YouTube video and a Saturday.
This guide is a plain reading of the NSW rules, an honest cost and time comparison based on jobs we've quoted and repaired across the Hills District and Western Sydney, and a practical hybrid model for homeowners who want to save money without owning the two risks that account for almost every expensive bathroom failure: waterproofing and plumbing.
We're a licensed renovation business, so read this with that in mind. But we'd rather tell you honestly what's worth doing yourself than sell you a full-service job you didn't need.
The NSW licensing rules in plain English
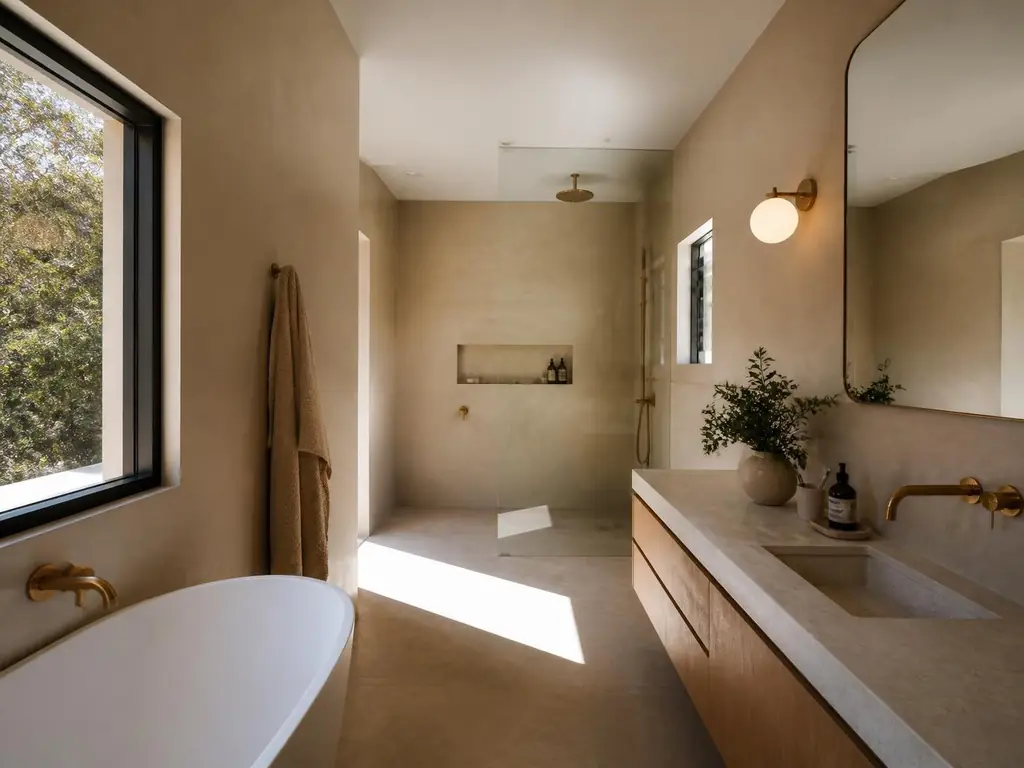
Under NSW law, certain categories of work must be carried out by a licensed tradesperson regardless of who owns the property, how confident they are, or how small the job feels. There is no 'homeowner exemption' for these categories — that exemption only ever applied to owner-builder permits on work you're not selling within six years, and it still doesn't touch plumbing, electrical or waterproofing licensing.
- Plumbing and drainage — a licensed plumber, always. This includes moving a waste, connecting a mixer to the water supply, relocating a floor waste, or altering drainage falls. A plumber must also lodge a Notice of Work with Sydney Water for most bathroom jobs and provide a Certificate of Compliance for Plumbing Work on completion.
- Electrical — a licensed electrician, always. This includes moving a light point, adding a power outlet, installing an exhaust fan on a new circuit, or wiring an underfloor heating mat. A Certificate of Compliance for Electrical Work (CCEW) is required.
- Waterproofing — must be carried out by a person holding the relevant NSW waterproofing licence, and the work must comply with AS 3740. There's a certificate of compliance for waterproofing too, and it's the document an insurer or a buyer's solicitor will ask for.
- Any residential building work valued over $5,000 in total (labour plus materials, on the whole job, not per trade) requires a licensed builder or licensed tradesperson to hold the contract.
- Home Building Compensation Fund (HBCF, also called home warranty insurance) cover is compulsory for any residential work over $20,000. If a contractor tells you it's not needed on a $30,000 bathroom, that's a serious warning sign — walk away.
- Asbestos removal — for bonded asbestos sheeting over 10m², a licensed asbestos removalist is legally required. Under 10m² a competent person can remove it themselves following SafeWork NSW procedures, but almost no bathroom strip-out stays under that threshold once you count wall lining, floor sheeting and eaves.
What an owner can legally and sensibly do
There is real money to be saved here if you're organised, physically capable, and honest with yourself about your skill level and your available time. None of the following requires a licence, and all of it is work we're genuinely happy to hand back to a competent owner.
- Demolition of tiles, vanity, toilet and loose fittings — provided asbestos has been ruled out by testing first, and provided the plumber has capped and isolated the water supply and waste before you start.
- Removing and disposing of non-hazardous waste, and organising the skip bin or tip runs.
- Painting the ceiling and any non-tiled walls once the wet-area work is finished and cured.
- Sourcing and purchasing fixtures, tiles, tapware, mirrors and accessories — this is where a patient owner can find genuine savings by shopping sales and outlet stock.
- Project coordination — booking trades in a sensible order, chasing lead times on tiles and glass, and managing deliveries so nothing sits in the driveway getting rained on.
- Final clean and accessory installation — towel rails, robe hooks, toilet roll holders — into properly located noggings or timber blocking installed by the carpenter.
- Skirting, architrave and door painting or staining if you're handy with a brush and have the patience for masking.
What this actually saves you
On a typical $28,000–$32,000 Hills District bathroom, doing your own demolition, painting, waste removal and coordination genuinely saves somewhere between $3,000 and $5,000. That's not nothing — it's a decent chunk of a new vanity and tapware package. But it's also the ceiling. Beyond this list, the saving starts trading against risk that isn't yours to take on.
The asbestos question, and why it comes first
Any Sydney home built or renovated before roughly 1990 may contain bonded asbestos sheeting behind the tiles, in the wall lining (often 4.5mm or 6mm 'fibro' sheet), or as a backing board under the floor tiles. For a full picture of what a compliant renovation looks like from start to finish, see our Bathroom Renovations Sydney page. Across Blacktown, Toongabbie, Seven Hills, Windsor, Riverstone and much of the older Western Sydney housing stock, we assume it's present until testing says otherwise — and we've been surprised often enough that we don't skip this step even on homes that look obviously renovated.
DIY demolition of an asbestos wall lining doesn't just create a mess in the bathroom — it releases fibres through the ducted air system and settles them into carpet, curtains and the rest of the house. Testing costs a few hundred dollars through an accredited lab. Do it before you pick up a hammer, not after you've filled two skip bins.
Why DIY waterproofing is the one that ends badly
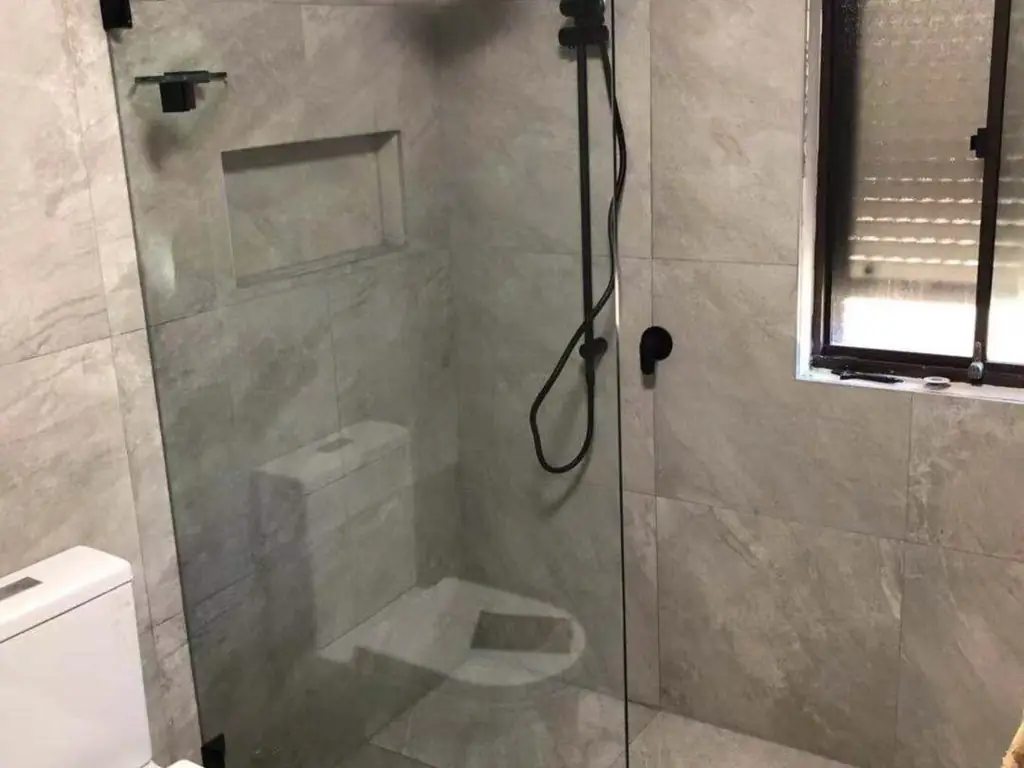
Waterproofing is the failure we're called to fix more than any other single item, and DIY membranes are heavily over-represented in that call-out list — not because homeowners are careless, but because the job looks simple and isn't.
It isn't just painting on a liquid membrane with a roller. It's substrate preparation and priming, bond breakers at every junction where dissimilar materials meet, correctly formed fillets in every internal corner, membrane turn-ups to the code-required heights (100mm on a normal wall, the full height behind a shower and up to the hob or step), puddle flanges correctly bedded at every floor waste, and the right dry film thickness built up across two or three coats with the correct cure time between them. Miss any one of these steps and the failure doesn't show up next week — it shows up eighteen months to three years later, inside the wall cavity, where you can't see it until the neighbouring room's skirting starts lifting or a ceiling downstairs stains.
In NSW, DIY waterproofing is also not certifiable, because certification requires the work to have been carried out by a licensed waterproofer. When you come to sell, a building and pest inspection that flags uncertified wet-area work is a genuine negotiating lever against you. Buyers' solicitors know exactly what to ask for, and 'the previous owner did it themselves' is not the answer anyone wants to give at exchange.
The realistic DIY saving, and the realistic timeline
On a $28,000 bathroom, an owner doing demolition, painting, waste removal and project coordination might save $3,000 to $5,000, as noted above. That's a real number, and for a lot of households it's worth the effort.
The cost is time, and it's easy to underestimate. A professionally managed program is typically three to four weeks with trades booked back to back, because a builder can hold the schedule firm and absorb the coordination overhead across many jobs at once. An owner-coordinated renovation done around a full-time job commonly runs eight to sixteen weeks, because each trade has to be rebooked around your availability, deliveries slip, and a trade that turns up to a site that isn't ready charges a call-out fee anyway and moves on to their next confirmed job — leaving you back of the queue.
- Professionally managed program
- 3–4 wksProfessionally managed program
- Owner-coordinated, around a job
- 8–16 wksOwner-coordinated, around a job
- Realistic DIY saving on a $28k–$32k reno
- $3k–$5kRealistic DIY saving on a $28k–$32k reno
- Typical waterproofing rectification cost
- $8k–$25k+Typical waterproofing rectification cost
| Approach | Typical saving vs full-service | Typical timeline | Risk carried by owner |
|---|---|---|---|
| Full owner coordination (all legal-DIY tasks) | $3,000–$5,000 | 8–16 weeks | Scheduling delays, defects in owner-performed work, no single point of accountability |
| Hybrid: owner demo/paint/sourcing + licensed trades for wet work | $2,500–$4,000 | 4–6 weeks | Low — licensed work is certified, owner risk limited to non-structural tasks |
| Fully licensed team, single contract | Baseline | 3–4 weeks | Lowest — one contractor, HBCF cover, itemised quote and warranty |
Swipe the table to see all columns.
The hybrid approach we recommend
If saving money is the goal and you're genuinely handy, the sensible split is: you do the demolition (after asbestos clearance), the painting and the sourcing of fixtures; we handle plumbing, electrical, waterproofing, tiling, glass and certification under a single detailed written contract.
This gets you the meaningful saving without owning the two risks — waterproofing and plumbing — that account for almost every expensive bathroom failure we're asked to fix. It also keeps a single licensed contractor accountable for the certified parts of the job, which matters when it's time to sell.
How the handover works in practice
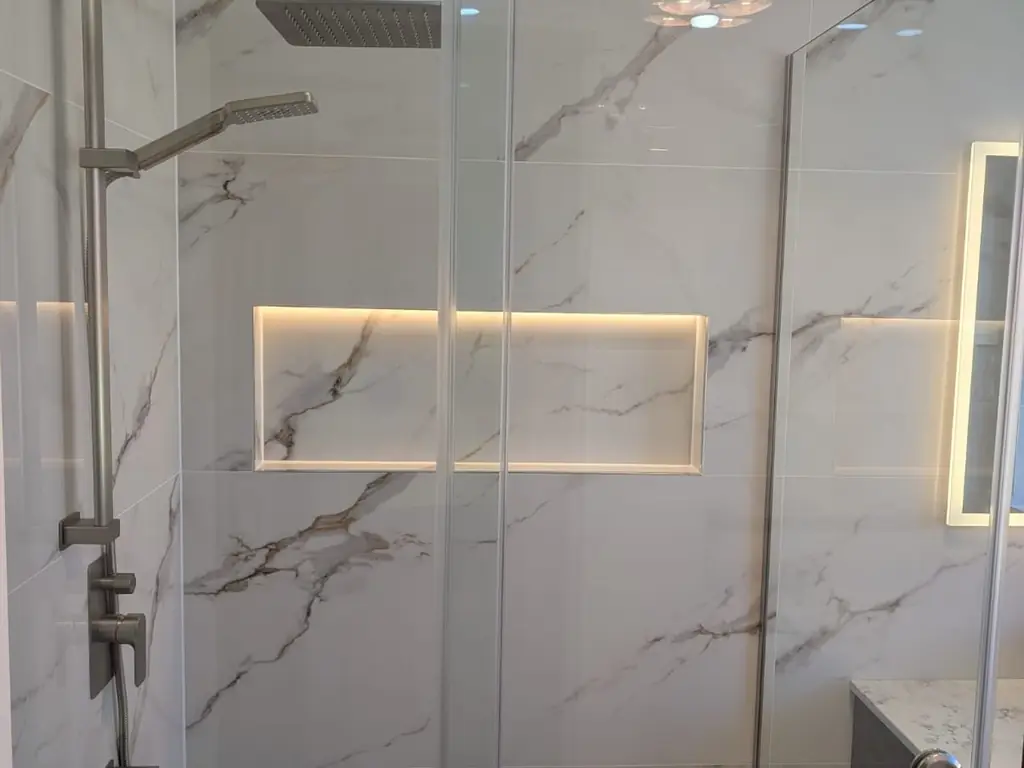
We'll usually ask you to complete demolition to a defined point — down to the studs and slab, waste and supply capped by our plumber first — before our trades start. That avoids the common problem of an owner demolishing further than expected and damaging waterproofing membrane in an adjoining wet area, or nicking a pipe that then has to be traced and repaired at your cost before we can start the paid work.
Where the itemised quote needs to be explicit
Any hybrid arrangement needs the scope split written into the itemised quote line by line — who supplies what, who's responsible for the site being ready by which date, and what happens if the owner-performed demolition isn't finished on time. A verbal handshake on this point is exactly where hybrid jobs go wrong; get it in the detailed written contract.
Substrate, sheeting and screed falls — the technical layer DIY often skips
Even before waterproofing goes on, there's a layer of technical work that determines whether the membrane will hold. This is the part that's invisible in the finished photo but is the actual engineering of a wet area.
- Substrate selection — compressed fibre cement sheet or villaboard on walls, and either a compliant tile underlay or a bonded screed on floors. Standard plasterboard has no place in a shower zone.
- Screed falls to waste — a shower floor needs a minimum fall (generally around 1:80 to 1:100 depending on the system) evenly graded to the waste with no low spots. A screed laid by eye without a laser level routinely leaves a puddle that never fully drains, which stains grout and eventually breaks down the membrane at that point.
- Sheet fixing and jointing — screws (not nails), correct spacing, and taped and sealed joints before membrane goes on. A sheet fixed with the wrong fasteners will eventually work loose behind the tile.
- Movement joints — bathrooms need to accommodate normal building movement without cracking the tile or tearing the membrane, which is why bond breaker tape at every plane change isn't optional.
Membrane systems, bond breakers and getting silicone vs grout right
A compliant AS 3740 membrane system in a Sydney bathroom typically means a two-part or single-part polyurethane or acrylic membrane, primed substrate, reinforcing fabric (bond breaker) at every internal corner and junction, and a minimum of two full coats reaching the specified dry film thickness — checked, not guessed. Turn-up heights are typically 1800mm behind a shower rose wall, full height in a shower recess, and at least 100mm on other bathroom walls, with the whole floor membraned and turned up at the perimeter.
At junctions, the finish detail matters as much as the waterproofing underneath. Grout is rigid and will crack at any point where two different materials meet or where normal building movement occurs — between the bath and the wall tile, at the shower hob, and at any internal corner. Those junctions need a flexible, mould-resistant silicone sealant, not grout, and it needs to be reapplied every few years as part of normal maintenance. A huge number of the 'leaking shower' calls we get turn out to be nothing more than perished silicone at the hob — a five-minute DIY fix that some homeowners pay a plumber $250 to diagnose because they assumed the worst.
Tiling and adhesive selection — where DIY quality shows every day
Legally, an owner can tile their own bathroom if the total value of work they're performing keeps the overall job under the licensing threshold and a licensed contractor holds the rest of the contract as required. Practically, wet-area tiling is where amateur work shows most, and it's the finish you look at every single day for the next decade or more.
The technical traps: using standard set adhesive instead of a flexible, polymer-modified adhesive over a screed or timber floor that has any flex in it (cracks the tile along the joist lines within a year or two); not using an anti-fracture or decoupling membrane over timber substrates; getting the fall to waste wrong because the tiler didn't check the screed before starting; and poor cutting around niches, hobs and external corners, which is the detail every buyer's eye goes to first at an open home.
| Task | Legally DIY-able? | Our honest recommendation |
|---|---|---|
| Demolition & waste removal (post asbestos-clearance) | Yes | DIY — genuine saving, low risk |
| Painting ceiling/non-wet walls | Yes | DIY — low risk, satisfying finish if you're patient |
| Sourcing fixtures & tapware | Yes | DIY — but confirm sizes/rough-in dimensions with your plumber first |
| Plumbing (waste, supply, mixer) | No — licensed plumber required | Always licensed — Notice of Work + Certificate of Compliance |
| Electrical (lights, GPOs, exhaust fan) | No — licensed electrician required | Always licensed — CCEW required |
| Waterproofing membrane | No — licensed waterproofer required | Always licensed — AS 3740 + certificate |
| Tiling | Yes, within licensing threshold | Hybrid or licensed — quality shows for a decade or more |
| Re-silicone maintenance (post-completion) | Yes | DIY — cheap, low-risk, do it every 2–3 years |
Swipe the table to see all columns.
Insurance and resale implications of unlicensed work
Two consequences follow from unlicensed work in the reserved trades, and both matter more than most homeowners expect at the time.
First, insurance: a home and contents insurer can decline a water damage claim if the wet-area work that caused it wasn't carried out and certified by a licensed waterproofer, or if plumbing work behind the failure wasn't done by a licensed plumber. That's not boilerplate — insurers do investigate the cause of water damage claims, and 'who did the waterproofing' is a standard question.
Second, resale: a building and pest inspection ahead of sale routinely flags unlicensed or uncertified wet-area work, and NSW vendor disclosure obligations mean this becomes a documented issue in the contract process. Buyers' solicitors use it to negotiate price reductions well in excess of what the compliant work would have cost in the first place. We've seen $30,000 knocked off an asking price over a bathroom that would have cost $9,000 to do properly and certified from the start.
Leak detection and rectification costs — what failure actually costs
When a DIY or unlicensed waterproofing job fails, the rectification cost is almost always far higher than the original saving. A typical process: leak detection and moisture mapping ($400–$900), full demolition of tiles, screed and membrane back to the substrate ($1,500–$3,500 depending on access), replacement of any water-damaged framing or subfloor sheeting ($800–$4,000+), and a full compliant re-waterproof and re-tile ($6,000–$14,000 depending on bathroom size and finish level). Add consequential damage — a stained ceiling in the room below, swollen skirting in the hallway, or mould remediation — and a full rectification on a mid-size Sydney bathroom commonly lands between $8,000 and $25,000.
Compare that to the cost of doing it right the first time: a licensed waterproofing package on a standard bathroom typically runs $1,800–$3,500 as part of the overall renovation contract. The maths on cutting this corner never works in the homeowner's favour once a failure actually occurs — the only question is whether you're unlucky enough to find out.
A realistic project sequence for a hybrid DIY renovation
If you decide to run a hybrid job, this is roughly the order that keeps everyone's liability clear and avoids the common handover disputes.
- 1. Asbestos testing before anything is touched.
- 2. Plumber attends to cap and isolate water supply and waste (this must happen before demolition, not after).
- 3. Owner completes demolition down to an agreed point (studs and slab), removes waste.
- 4. Site handover and inspection — builder or waterproofer confirms substrate condition and any make-good needed from demolition.
- 5. Carpenter installs new noggings/blocking, substrate sheeting.
- 6. Licensed plumber and electrician rough-in.
- 7. Licensed waterproofer applies and certifies membrane, AS 3740 compliant.
- 8. Tiler lays floor and wall tiles (owner or licensed, per your split).
- 9. Plumber and electrician final fit-off, certificates issued.
- 10. Owner completes painting, accessory installation and final clean.